The Best Wort Chiller for Home Brewing in the UK (2026): A Practical Guide
A UK guide to wort chillers for home brewing, comparing immersion, counterflow and plate designs to cool wort fast for a clearer, cleaner finished beer.
The Best Wort Chiller for Home Brewing in the UK (2026): A Practical Guide
Once your boil is finished, you need to get the wort from boiling to yeast-pitching temperature as quickly as you sensibly can. A wort chiller is the tool that does it, and for all-grain and extract brewers working with a full boil it turns a slow, fiddly job into a quick one. This guide explains why fast chilling matters, how the three main chiller types differ, and how to choose one for the way you brew — with a UK slant on tap-water temperatures and what is easy to buy here.
This guide contains affiliate links. If you buy through them we may earn a small commission, at no extra cost to you. It never changes which products we recommend.
Why chilling quickly matters
Cooling wort fast is not just about saving time. There are real quality and safety reasons brewers invest in a chiller:
- Cold break. Rapid cooling causes proteins and tannins to clump together and drop out of the wort (the “cold break”), which contributes to a clearer finished beer.
- Reducing contamination risk. Wort sitting for hours in the danger-zone temperature range is vulnerable to wild yeast and bacteria. Getting it cool and pitching healthy yeast promptly gives your chosen yeast the head start it needs.
- Pitching temperature. Yeast should go into wort at roughly its working temperature — often somewhere around 18–20°C for ale yeasts. Pitch into wort that is too hot and you kill or stress the yeast and risk off-flavours.
Chilling a full boil by leaving the pot to cool naturally can take hours; a chiller can bring it down in a fraction of that time.
The three main types of chiller
Immersion chillers are the simplest and most popular for home brewers. A coil of copper or stainless tubing sits in the hot wort, and you run cold water through the coil; heat passes from the wort into the water, which goes down the drain. There is nothing for wort to flow through, so they are easy to clean and hard to contaminate, and the hot coil is effectively sanitised by the boil. They are the usual recommendation for anyone starting out.
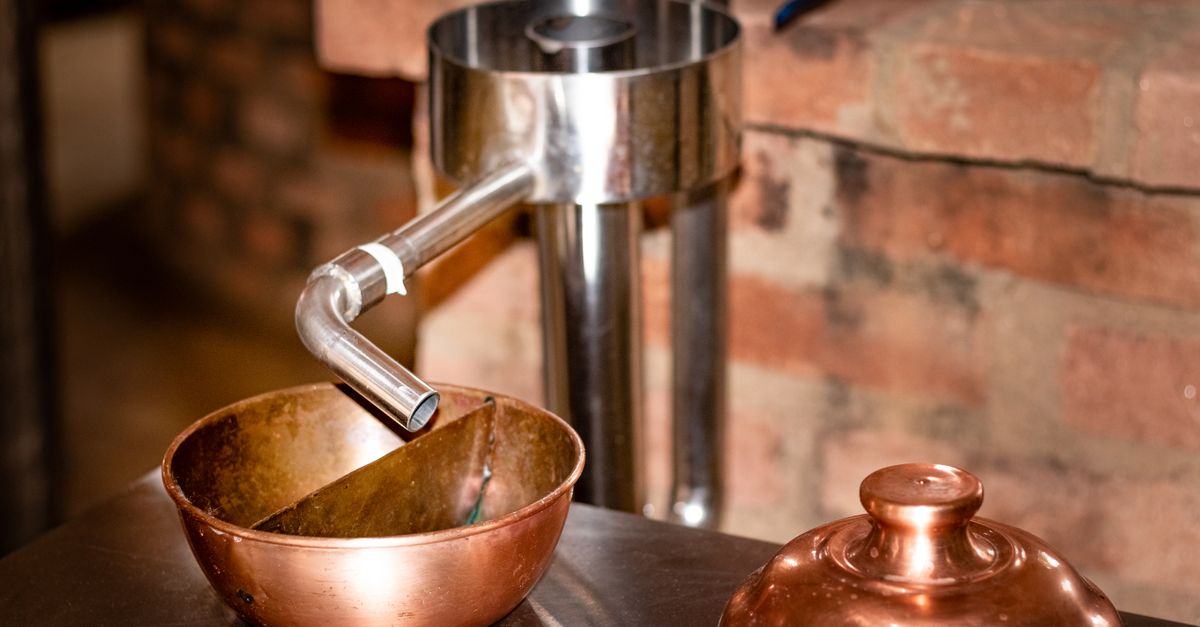
Counterflow chillers run hot wort through an inner tube while cold water flows around it in the opposite direction. They chill very efficiently as the wort transfers from kettle to fermenter, but they are harder to clean because wort passes through the tubing, so thorough flushing and sanitising is essential.
Plate chillers pass wort and cold water through alternating narrow channels in a compact stack of plates. They are extremely efficient and compact, and favoured by brewers with more advanced setups, but the narrow channels can trap hop debris and are the trickiest to clean well. Using a hop filter or brewing with a hop bag helps.
UK tap water and the summer problem
How fast any chiller works depends heavily on your incoming water temperature, and this is where UK brewers hit a seasonal snag. In winter, cold mains water does an excellent job. In the height of summer, tap water can be too warm to bring wort all the way down to pitching temperature on its own — you may get it close, then stall a few degrees above where you want to be.
The common workarounds are:
- A pre-chiller — a second coil sitting in a bucket of ice water that the mains water passes through first, so the water reaching your main chiller is colder.
- Recirculating ice water with a pump through the chiller for the final stretch.
- Simply finishing the last few degrees by placing the covered kettle in the fridge, or by letting a sealed fermenter come down overnight.
It is worth factoring your water bill in too: immersion chilling sends a fair amount of water down the drain, though many brewers capture the warm output in a tub for cleaning or watering the garden.
Material: copper vs stainless steel
Immersion coils commonly come in copper, which conducts heat superbly and cools fast, or stainless steel, which is slightly less conductive but more durable, easier to keep clean and non-reactive. Both work well; copper tends to chill marginally quicker for the money, while stainless is the choice if you want a fit-and-forget coil that will not tarnish.
Sizing it to your batch
Match the chiller to your batch volume. A coil sized for a standard 23-litre batch will struggle with a larger volume, while an oversized chiller for a small stovetop brew is simply overkill. Check the coil length and tubing diameter against your kettle depth so the coil actually sits in the wort, and make sure the hose fittings suit a UK tap or your brewing tap connector.
The no-chill alternative
It is worth knowing that some brewers skip a chiller entirely with the no-chill method — transferring hot wort into a sealed, heatproof container and leaving it to cool naturally over many hours, often overnight. It saves water and kit, though it changes late-hop timing and demands scrupulous sanitation of the container. It is a legitimate approach, but a chiller remains the faster and more predictable route for most people.
Which should you buy?
For the majority of UK home brewers, a well-made immersion chiller sized to your batch — copper if you want the fastest chill, stainless if you want durability and easy cleaning — is the best first buy. Step up to a counterflow or plate chiller only once you are brewing regularly, working with larger volumes, and comfortable with the extra cleaning discipline they demand. Specifications, coil lengths and prices vary between models, so check the current retailer listing and confirm the fittings match your tap before ordering.